Triggered Burst Mode -
In Triggered Burst mode, the DSM will output a defined number of waveforms for each trigger signal that it receives.
In Triggered Burst mode, the minimum chirp time for one loop should be 256 nanoseconds. Therefore the minimum Data Length will depend on the input clock frequency. At 2 GHz, 256 nanoseconds is about 64 points so the minimum Data Length is hexadecimal 40.
Triggered Burst Mode Operation Example:
» Open the DSM application. Go to the "Signature" tab and set the
Clock Frequency to the correct frequency.

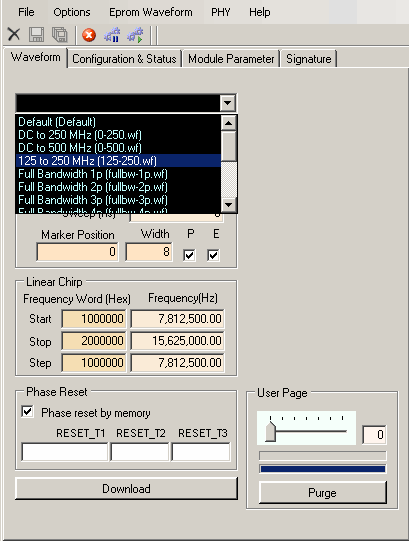
» Go to the "Waveform" tab. Click on the drop-down box and click on the
"DC to 250 MHz" waveform. Of course you can load any waveform you want but for this specific example we will
be using the "Full Bandwidth 1p" waveform.

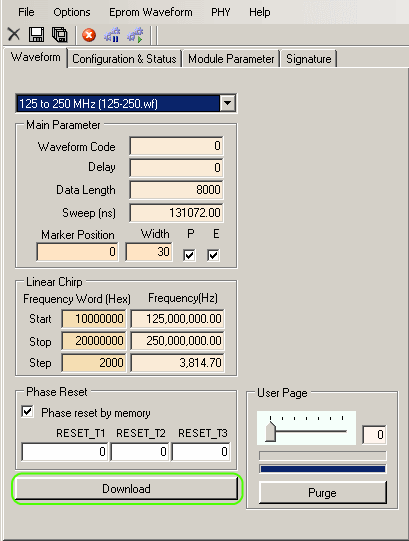
» The "DC to 250 MHz" waveform parameters should now load. Click on Download to download
the waveform data to the DSM on-board memory.

» Click on the "Configuration & Status" tab to go to that window. Make sure that "Master" is checked
and that "Endless Loop" is unchecked.

» You can also set the Loop Count at this point. For our example, we have set the Loop Count to "2".

» Click on the Abort button on the toolbar or press F1 on your keyboard to clear the DSM of any
previous states.

» If you click on the Update Status button you should see that "Infinite Loop"
is not checked and that "Armed" and "Burst Mode" are not checked.

» Click on the Restart button on the toolbar or press F3 on the keyboard to arm the DSM module.

» If you click on the Update Status window you should now see that the
"Armed" and "Burst Mode" boxes checked.

» At this point, if you provide a trigger signal, the DSM will start producing waveform
for each trigger signal that it senses.
» If you decide to use the Auto Trigger, change the Period to an appropriate value and click
the "Enable" button to turn on the Auto Trigger.
