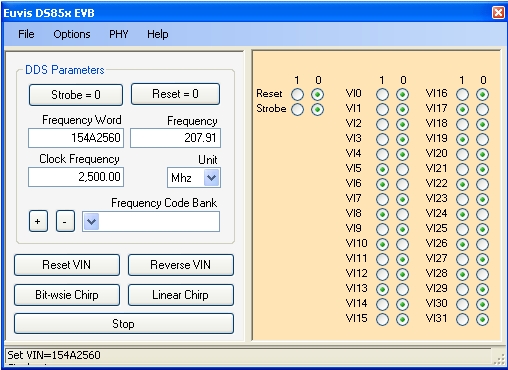
Changing Frequency -
IMPORTANT: Please be sure that the Clock Frequency and the Unit matches the clock frequency of your input. The board cannot detect the input frequency so any wrong clock signal input will result in wrong signal output.
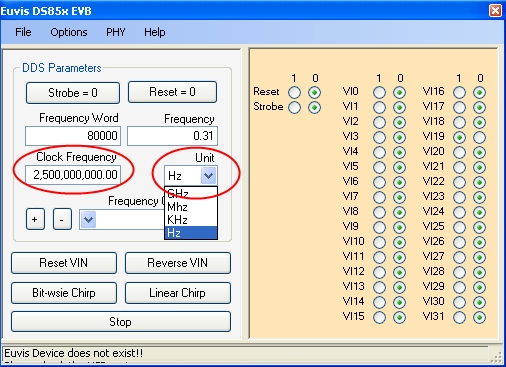
NOTE: The Unit selection will affect the resolution of the frequency selected. The lower the Unit, the higher the resolution you will be able to select for the output frequency. For example if Unit was "Hz" and user enters "57915" as the Frequency, then the output frequency is 57,914.88 Hz which is a 0.12 Hz difference from the desired frequency. Now if the user were to change Unit to "KHz" and then enters "57.915" as the Frequency, then the output frequency is 57.91 Khz which is a 5 Hz difference from the desired frequency.
NOTE: The maximum output frequency is half of the clock frequency. So if the clock is 2.5 GHz, then the maximum output frequency is 1.25 GHz. If you enter a frequency that is more than half the input clock frequency, the real output frequency will be: Input Clock Frequency - User Defined Frequency. For example if the input clock was 2.5 GHz (max output frequency 1.25 GHz) and the user enters 1.95 Ghz in the Frequency box then the output frequency will be 2.5 - 1.95 = 0.55 GHz or 550 MHz.
Strobe
This button is only useful when Auto Strobe is off.
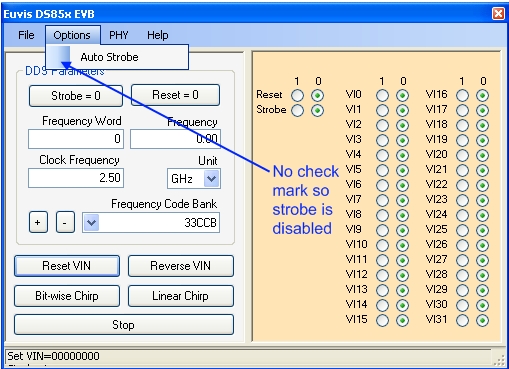
When Auto Strobe is off, when the user changes either the Frequency Word box, Frequency box or the
individual bits, the changes will not be automatically sent to the board. Instead, the user will
have to click on Strobe = 0 to set Strobe high then click Strobe = 1
to set Strobe low again.
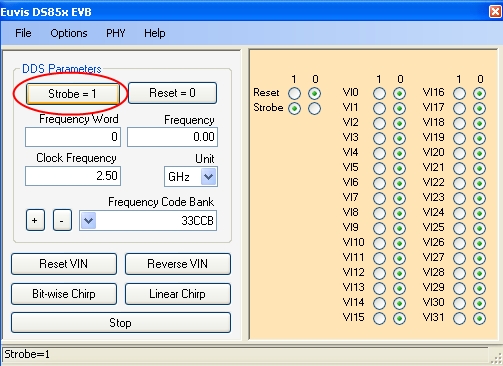
After this sequence, the user data will be strobed to the board. Only through the Strobe high-low
sequence will the data be updated to the board when Auto Strobe is off.
Reset
When Reset is set to 0, the board functions normally and outputs the desired frequency. When Reset is set to 1, there is no output.
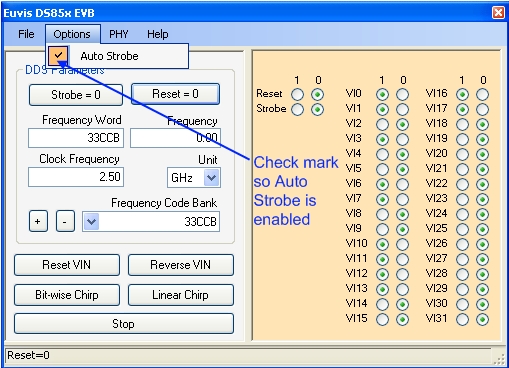
Changing Frequency With Auto Strobe On
There are three ways to change the frequency. First make sure that Auto Strobe is on.
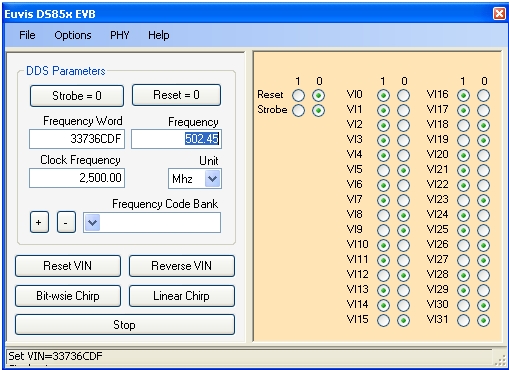
1. Change frequency by changing the Frequency box.
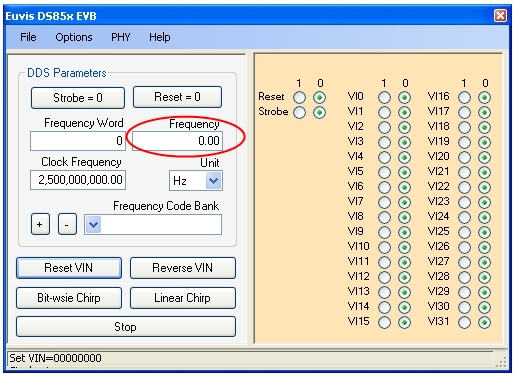
» To change the frequency, make sure that the Unit is correct then simply enter the desired frequency in
the Frequency box. After typing the number press Enter to register
the change to the program.
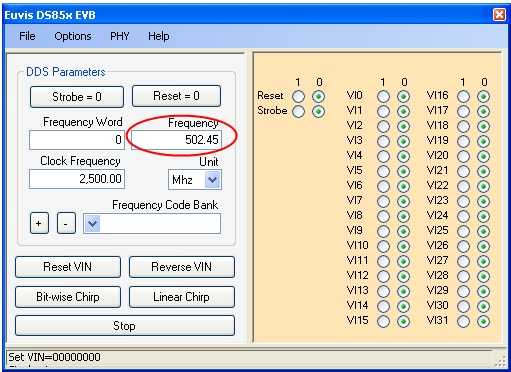
» Since Auto Strobe is enabled, the output will be automatically changed.
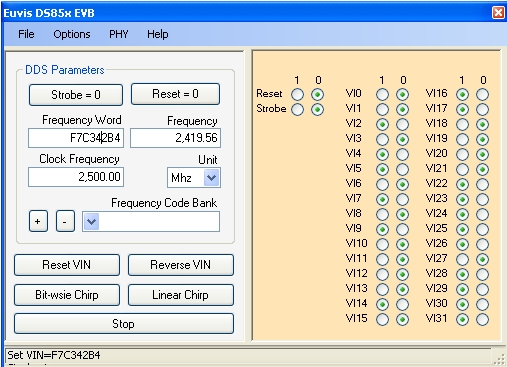
2. Change frequency by changing the Frequency Word box.

» Make sure that the Unit is correct then enter the frequency word in
hexadecimal. Since there are 32 bits, there are 8 hexadecimal digits with each hexadecimal digit
representing every 4 bits of the frequency word. The leftmost hex digit in the frequency word
represents the most significant bits while the rightmost hex digit represents the least significant bits.
» After typing the frequency word press Enter to register
the change to the program.
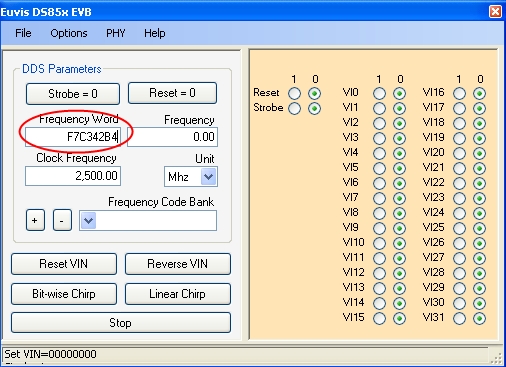
» Since Auto Strobe is enabled, the output will be automatically changed.
3. Change frequency by changing the individual bits.
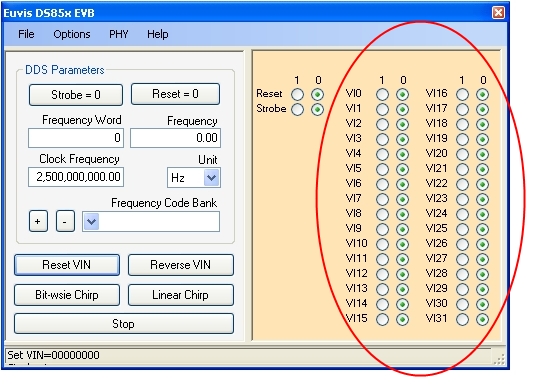
» Make sure that the Unit is correct then manually switch on or off each bit
to get the desired frequency word. The Frequency and the Frequency Word will
reflect changes made by the user. Since Auto Strobe is enabled each time a bit
is changed, the output is automatically updated.
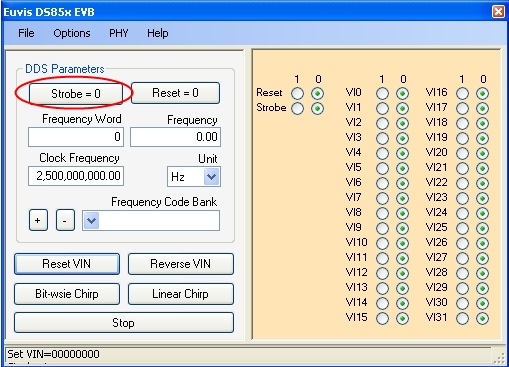
Changing the Frequency with Auto Strobe Off
Changing the frequency with Auto Strobe off is exactly like changing the frequency with Auto Strobe on except that at the end of each change, you have to click on the Strobe twice.
As a demonstration, we will show you how to change the frequency with the Frequency
box.
» First make sure that the Unit is correct then enter the desired value in the Frequency
box.
» Press Enter to register the change to the program.
» Now we need to strobe the changes to the board. Click on Strobe = 0.
» Click on Strobe = 1 again.
» The output should have changed. Changing frequency using the Frequency Word box and
using the individual bits is similar to this. All you have to make sure is to click
on the Strobe button twice after each change.
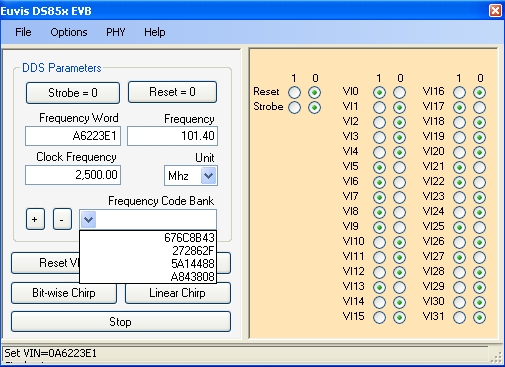
Frequency Code Bank
For convenience, we have included the Frequency Code Bank. This is a place to store frequencies which you have already entered.
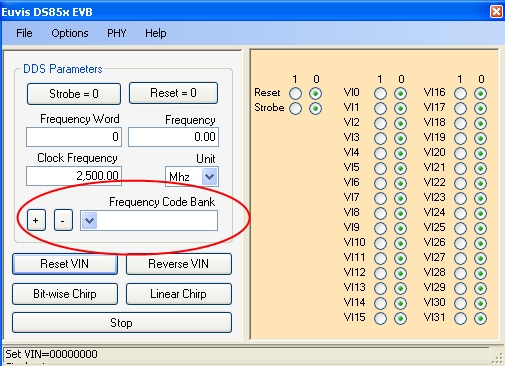
» To add a frequency, click on the "+" button.

» The frequency word will now show up in the Frequency Code Bank.
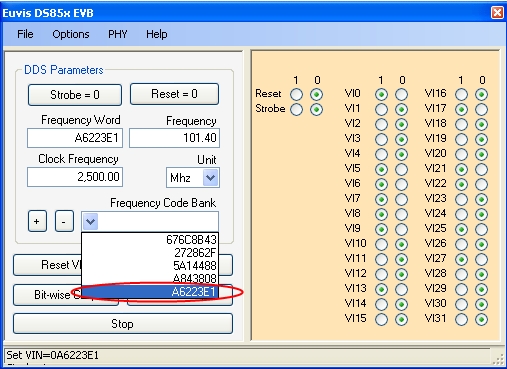
» To remove a frequency code word, click on the the drop-down list and select
the frequency word you want to remove.
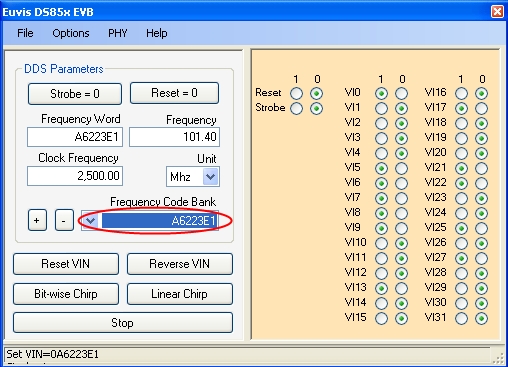
» Click the "-" button.
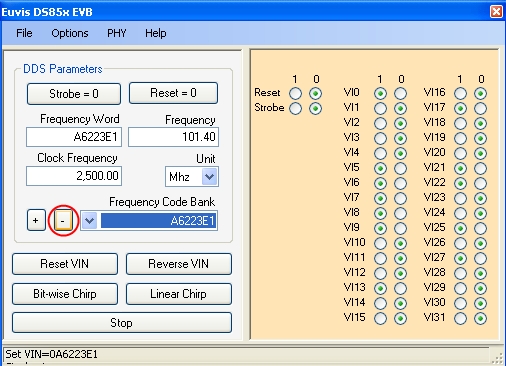
» The frequency is no longer in the Frequency Code Bank.